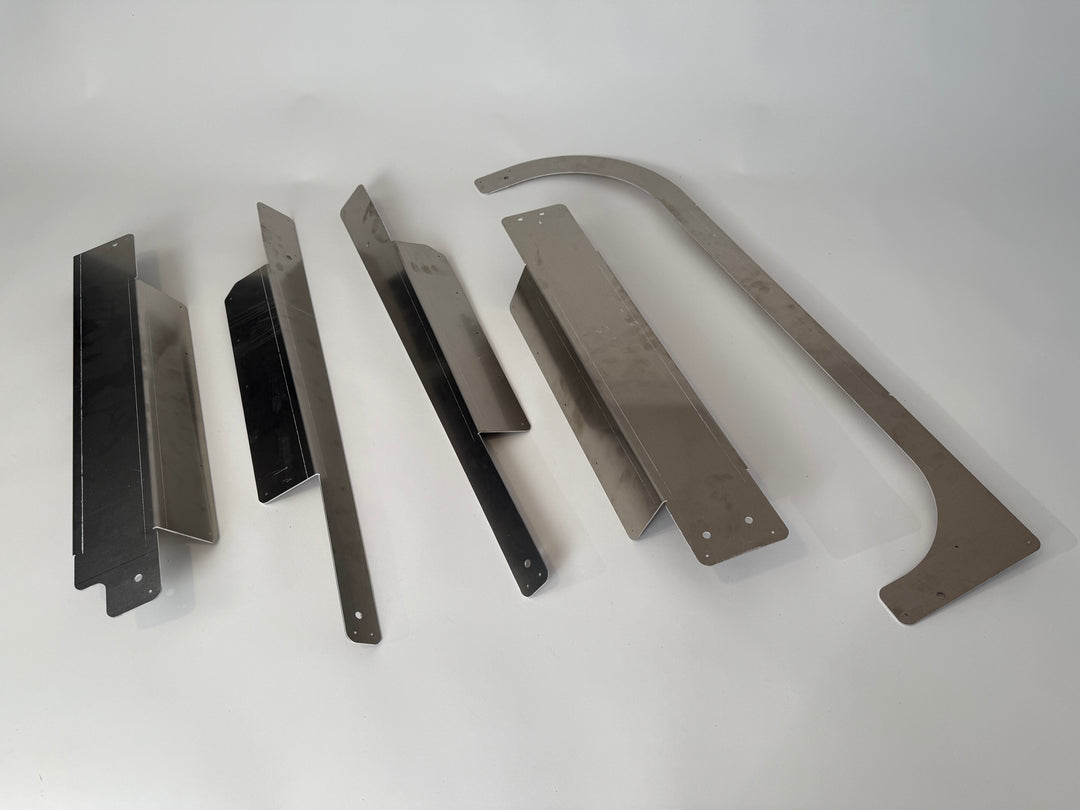
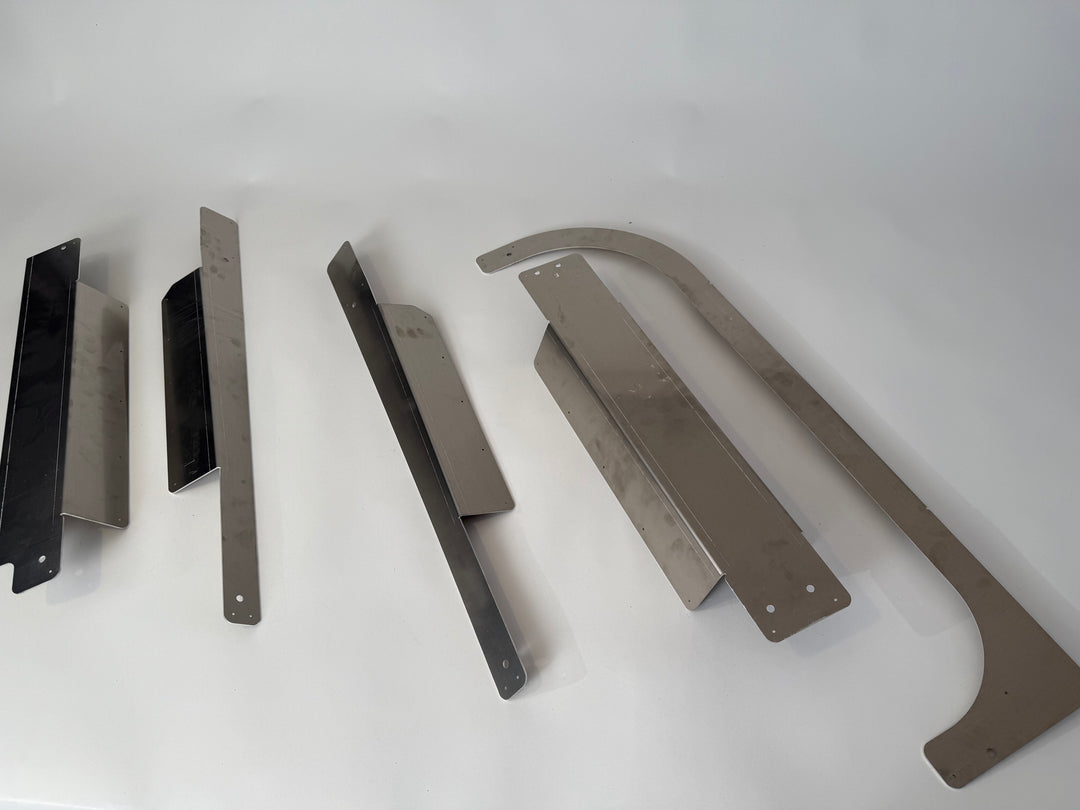


AVC RIG Ford Transit Van Furring Kit
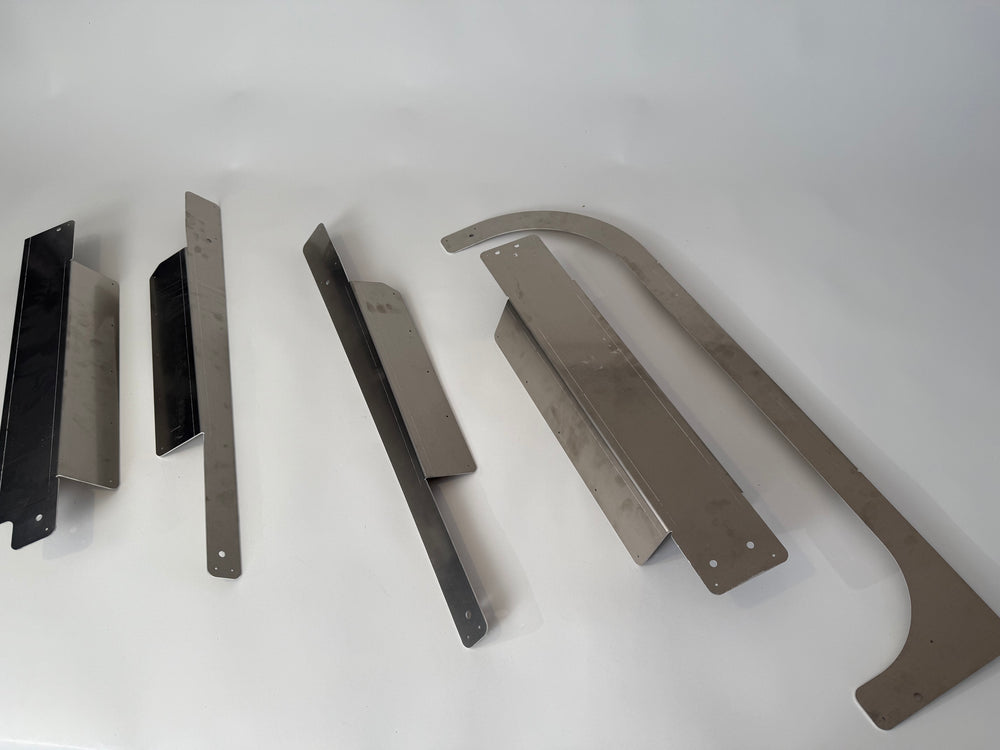
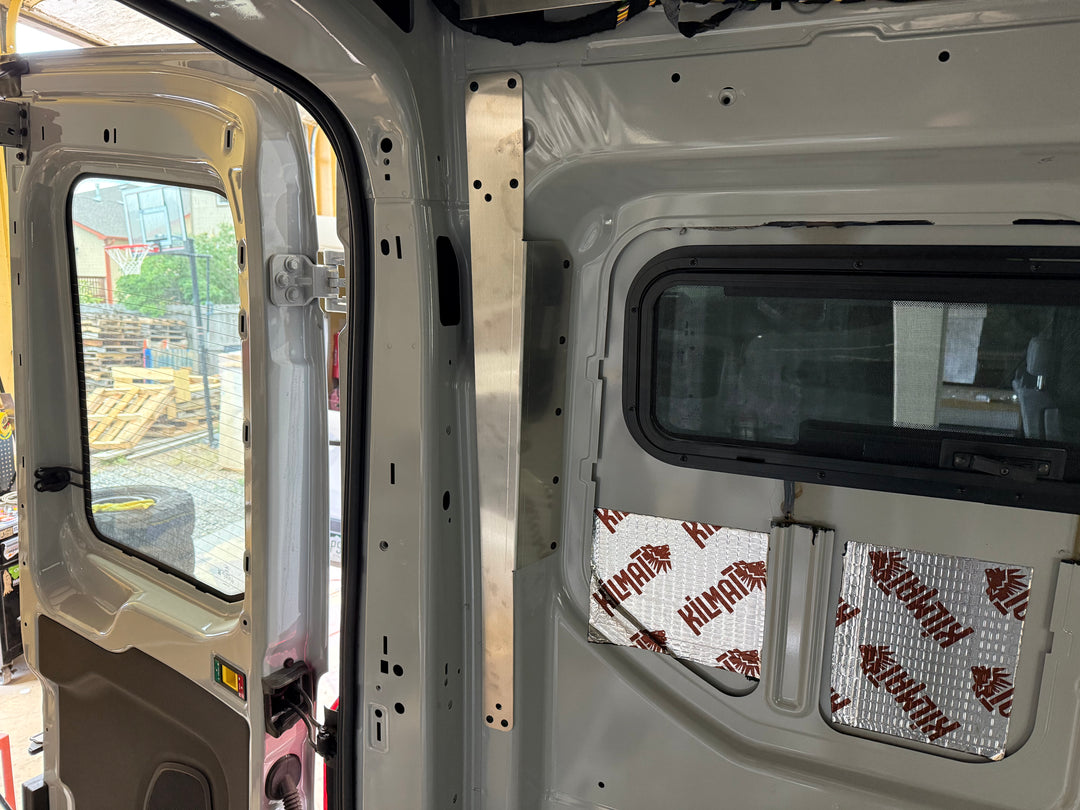
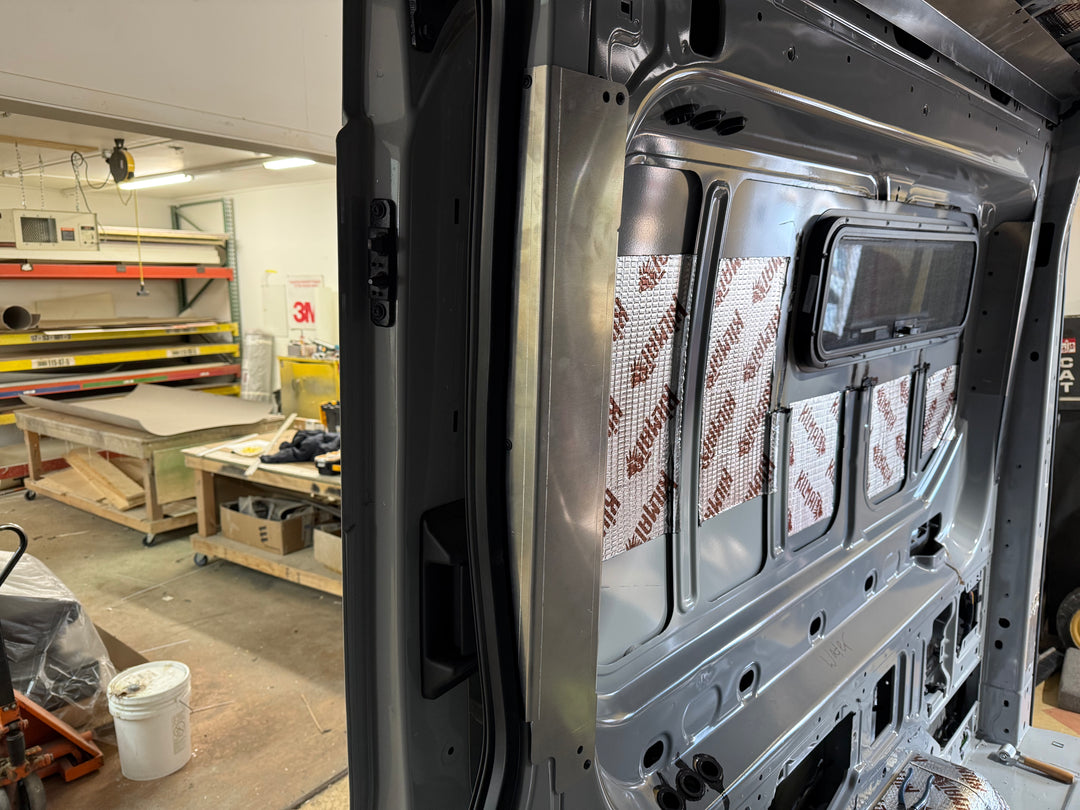
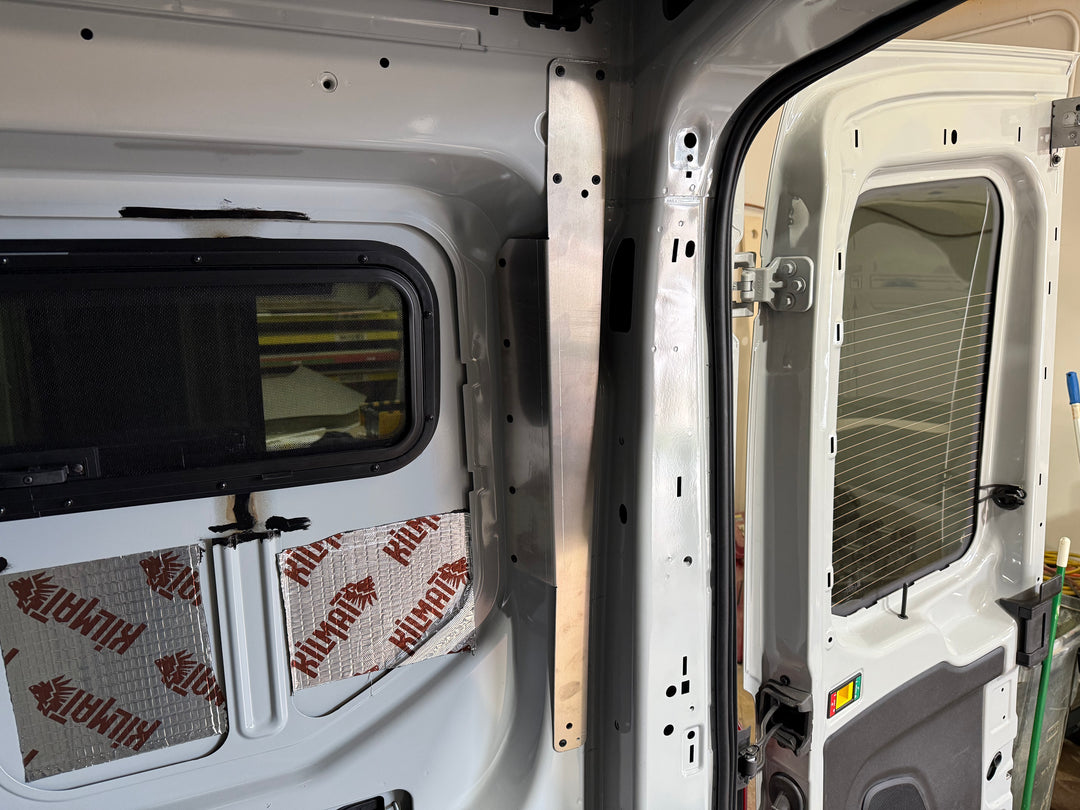
The AVC RIG Ford Transit van furring kit is an easy, no-fuss way to install flat walls in the curved interior of your Ford Transit camper van.
See our installation video HERE.
Why Use a Ford Transit Van Furring Kit
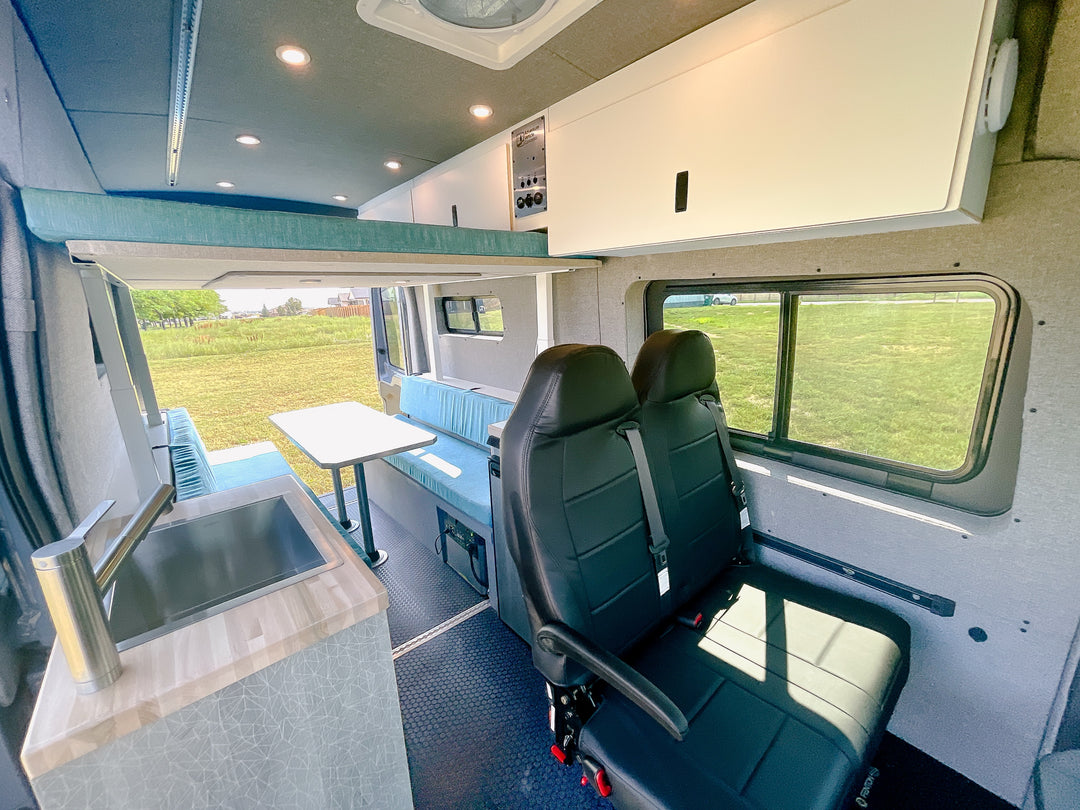
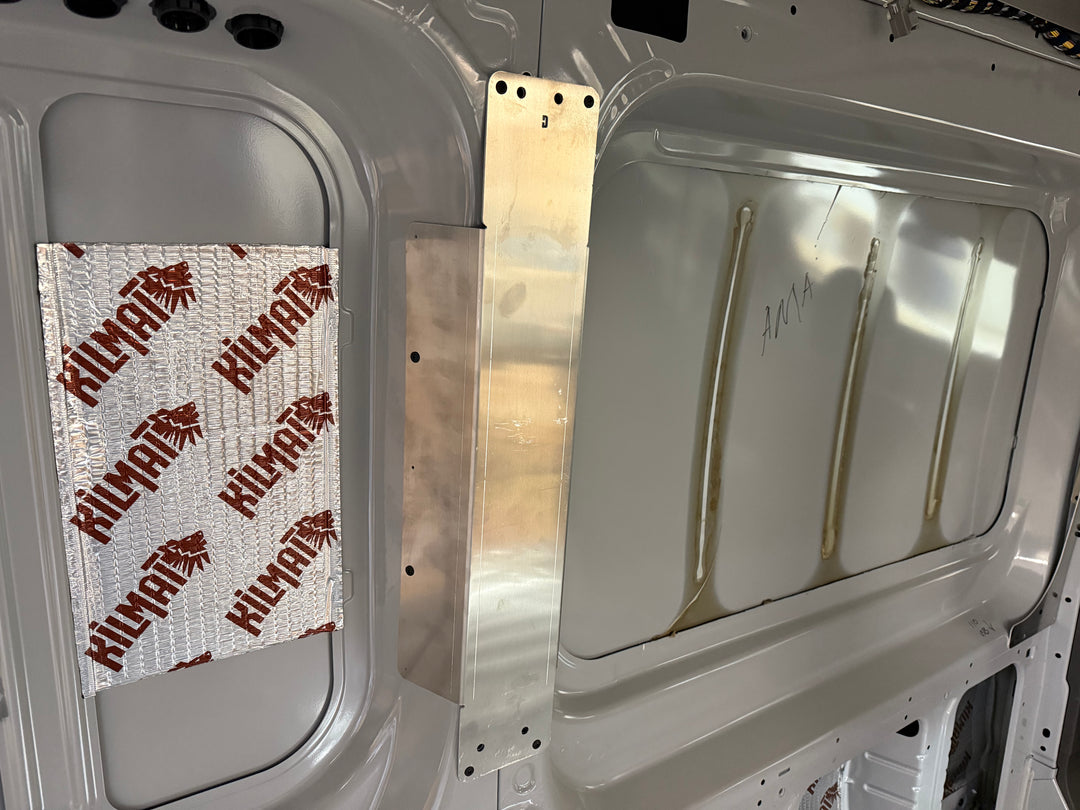
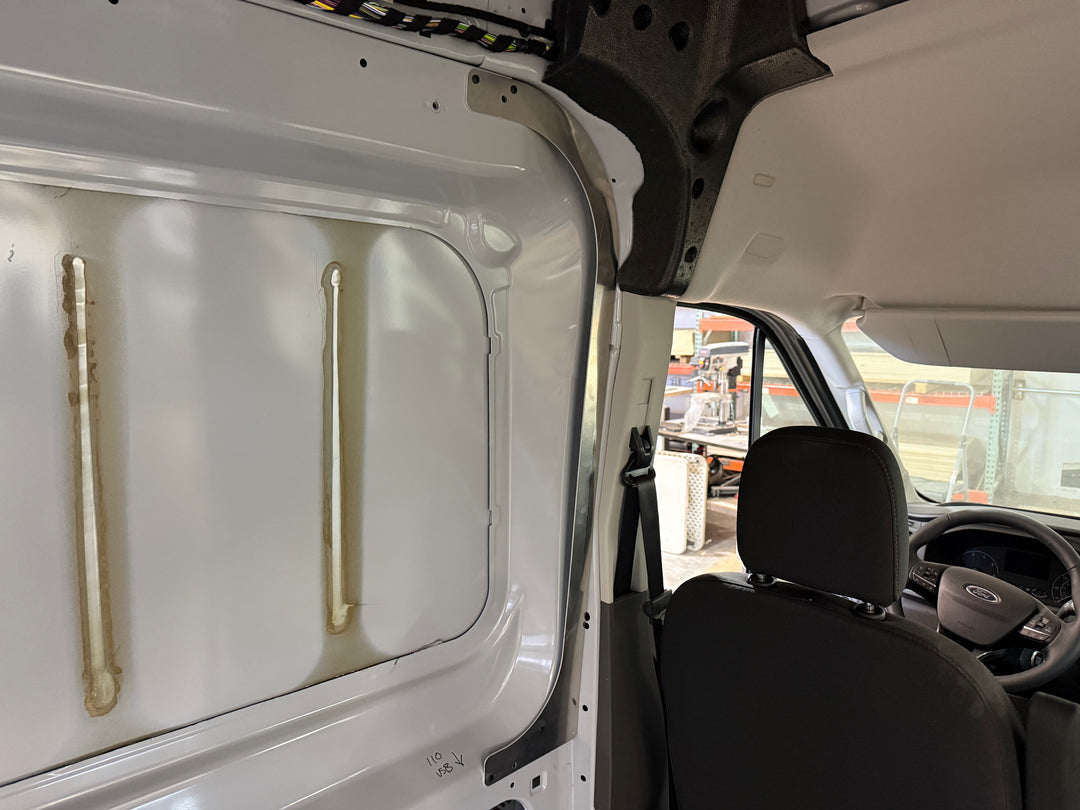
This kit gives builders a solid foundation for our wall kit. There is no need to build your own bolsters along the B, C and D pillars. It also solves the tricky area around the driver's side window across from the slider door. The result is flat walls that are easier to panel and trim.
Choose Your Version
- 148LB: for the standard 148 inch wheelbase Transit.
- 148EXT: for the 148 extended Transit.
- C+ ONLY: the C-pillar and rear parts only.
- 148 GoCode and 148 EXT GoCode: these versions leave out the D-pillar furring parts. Those parts are not used with GoCode rear plastics.
Ceiling parts are sold separately. Pair this kit with our Aluminum Ceiling Furring Kit and Wall to Ceiling Supports, or see every option in van furring kits.
What It Works With
The furring kit is made to sit behind our wall and ceiling kits, so your panels land on a flat, square surface. Order the version that matches your wall kit and trim, including GoCode trim builds. Straight walls from the cab to the rear doors also make your trim lines cleaner.
How Install Goes
Start by locating each furring piece on its pillar or window opening. Fasten it to the van, then check that your wall line is flat before you hang panels. The install video above walks through each step. Plan any wiring runs before the walls go on. Every Ford Transit van furring kit is designed in our Loveland, Colorado shop around the vans we build, so the parts line up with the factory body.