Elevate Your Build: Installing the AVC Wall-to-Ceiling Support
![]()
Hey everybody, Matt here for AVC, and welcome back to the shop! Today on AVC Chronicles, we're diving into the installation of a product that's been a staple in our builds for a long time, but with some crucial updates: our Wall-to-Ceiling Supports. This is an updated guide to an existing product, designed to make your van's interior even more seamless and professional.
What are Wall-to-Ceiling Supports?

Our Wall-to-Ceiling Supports are essential aluminum profiles that bridge the gap between your wall panels and the curved roof ribs of your Ford Transit van. They provide a flat, stable surface for your ceiling panels to rest against, ensuring a clean, finished look and adding structural integrity to your interior build.
New & Improved: Lengths for Every Transit
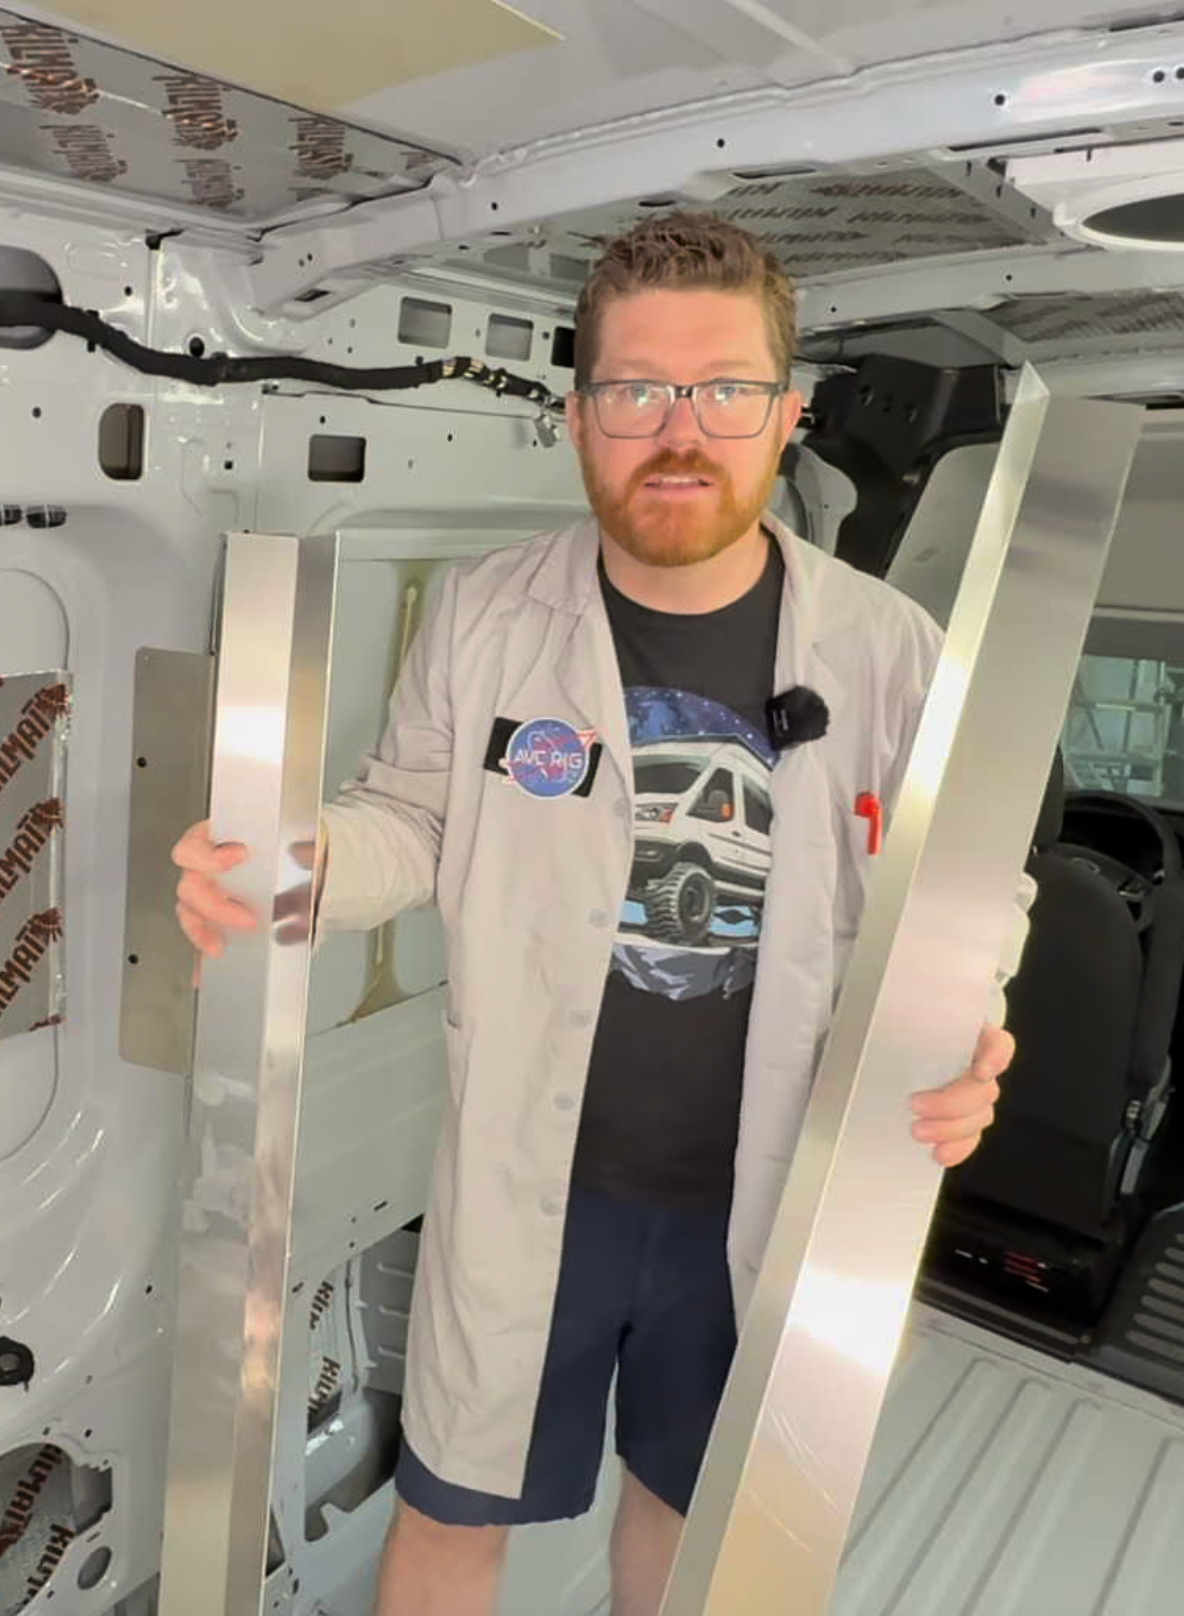
We've listened to your feedback and now offer our Wall-to-Ceiling Supports in two different lengths to perfectly fit your van:
- 75-inch length: Ideal for extended Ford Transit vans, accommodating that extra distance at the rear.
- 60-inch length: Perfect for all long body 130s and 148s, including the common medium roof 148 long body we're demonstrating on today.
Understanding the Design: Key Dimensions for a Perfect Fit
Each Wall-to-Ceiling Support features two legs: a 2-inch leg and a 3-inch leg. When installing, the 3-inch leg will go against the ceiling roof ribs.
Critical Alignment Point: Look for a subtle line or dimple on the roof rib where the flat surface transitions smoothly to the rest of the rib. This is your key alignment point. We even highlight it with a red Sharpie in our video for clarity! You'll line up the edge of the 3-inch leg precisely with this line.


This precise alignment leaves just enough gap for the factory wiring harness behind the wall, so there's no need for tedious relocation, all while minimizing lost space.
Driver's Side Installation: Straightforward & Secure
In a medium roof Transit, there's minimal curvature at the front, allowing us to slide the support a bit further forward, generally aligning it with an existing hole (even if you cut back the "blob"). The most critical dimension is always aligning to that roof rib line. When in doubt, err on the side of going tighter to the wall to ensure your ceiling panels fit without issue.
Installation Steps (Driver's Side):

- Hold the support up to the roof, aligning the 3-inch leg with the marked line on the roof rib.
- Set one screw at the front to temporarily hold it.
- For the rear section, align it the same way, noting that in a 148, there will be a significant overlap (around 12 inches) between the front and rear pieces – this is totally fine!
- At the back of the van, ensure about 4 inches of space for the wiring harness, preventing crowding.
- Once both pieces are loosely in place, screw the overlapping sections together at the ends (avoiding the middle where a gap might show through later).
- Safety Note: These are sheared aluminum panels and might have sharp edges to keep costs down. Please be mindful and avoid sliding your hands along the edges during installation.
- Add a few more screws along the length to secure everything tightly.


In high roof vans, you can shift the supports further back as the ceiling dives at the front, optimizing material use.
Passenger Side Installation: A Slight Variation for Seamless Upholstery
For high roof vans, the passenger side installation is identical to the driver's side. However, for medium roof vans, there's a slight but important difference:
- Slam it Tight: On the passenger side of a medium roof, you'll actually push the Wall-to-Ceiling Support as tight as possible against the passenger wall, letting it limit out on the small bumps in the frame.
- Why the Difference? This specific section of the Ford Transit (hardened steel) makes it problematic to put a screw directly into, and the visible portion of a wall panel here would be minimal. By pushing the support tight, you create a seamless surface for upholstering this area as one complete unit.
- Upholstery Prep: Once installed, you can fill the gap behind the support (we typically use 1/2-inch XPS foam) and then fabric everything together. This results in a super clean look when your wall panels go up.


Complete & Ready for Upholstery!

With these last screws in place, your Wall-to-Ceiling Supports are installed! They provide the perfect foundation for your upholstery work. On the driver's side, you'll typically run your wall upholstery up to this support. On the passenger side, especially in a medium roof, you'll upholster from this support all the way down and around that pillar, creating a truly integrated finish.
This product makes a significant difference in the finished quality of your van's interior, providing a consistent and professional base for your walls and ceiling.
Have questions about the installation process? Hit us up in the comments below!